 Experts Need expert help? Don’t hesitate to talk.
Few Words on Magento
Magento, a leader in the world of eCommerce industry comprised of innovative solutions to empower business solutions. While the Organizations find themselves busy in operating their stores, hackers are not behind. They try their best possible way to steal users critical information by attacking their websites.
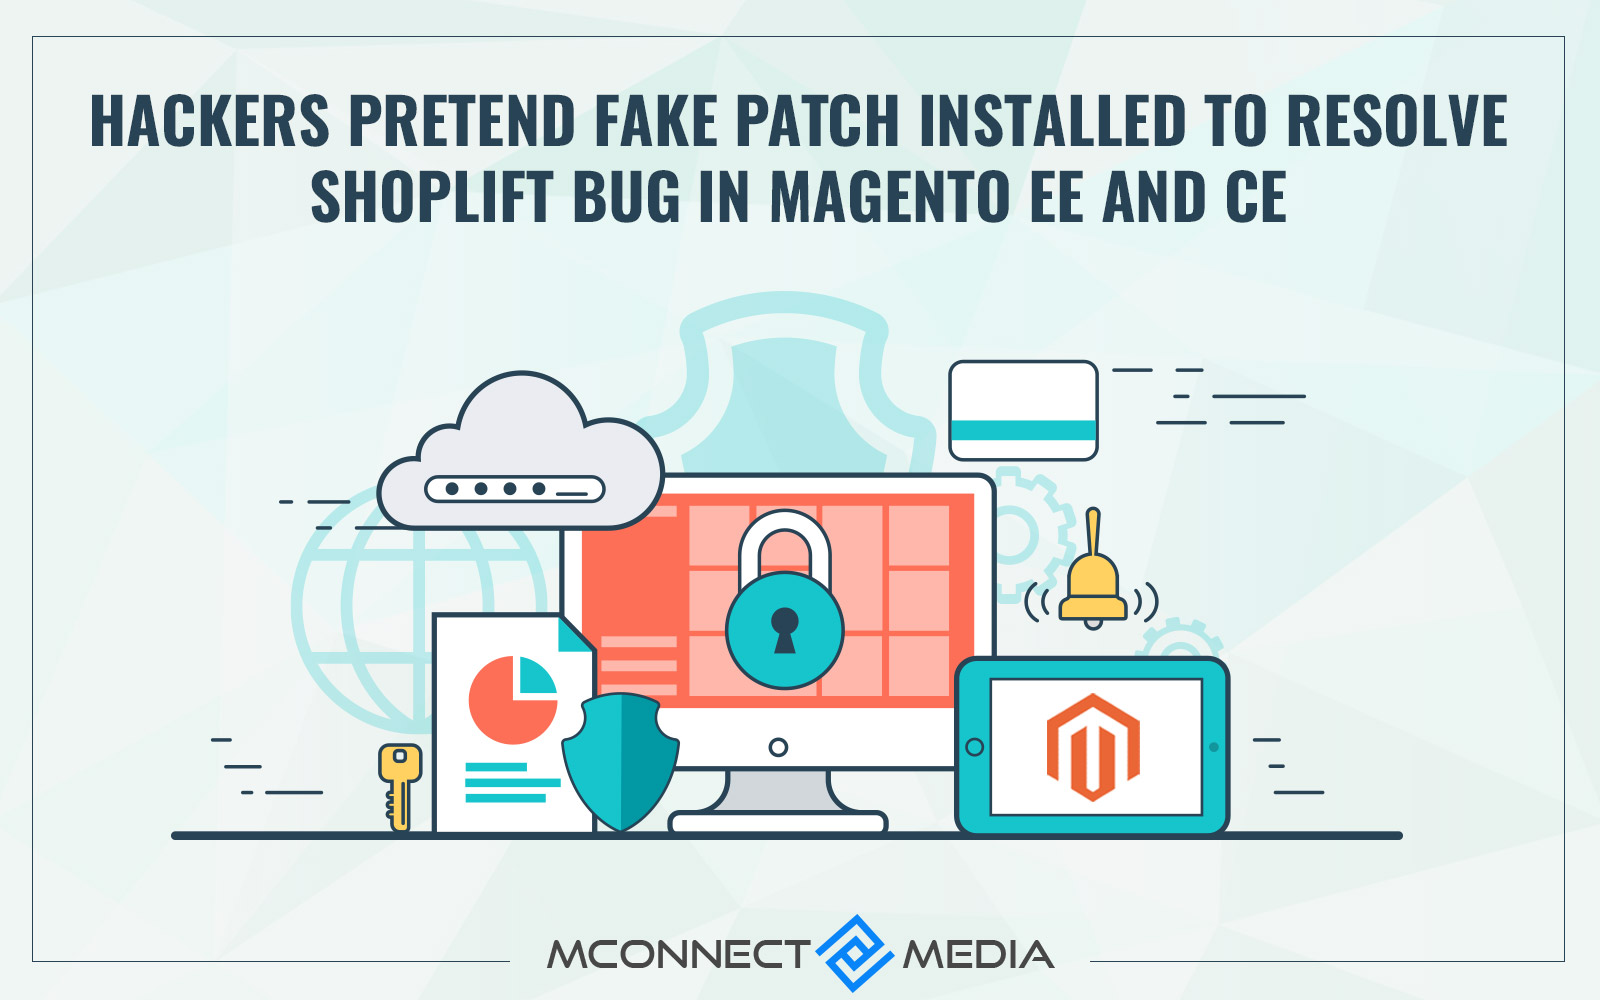
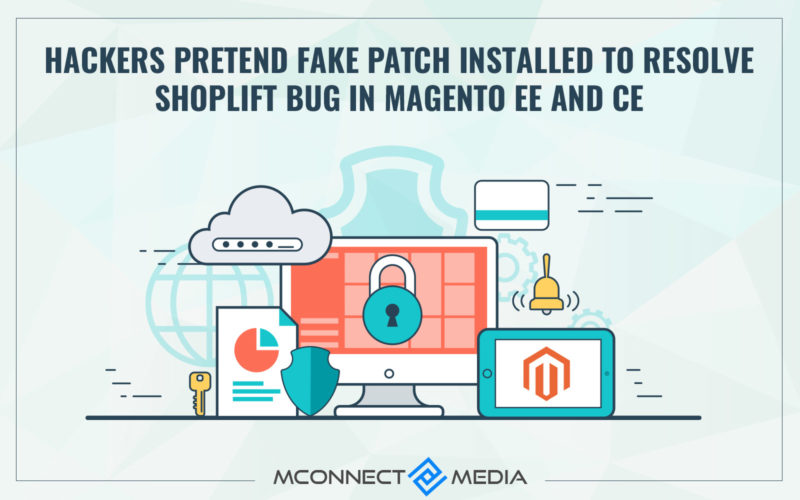
A major threat on the stores were observed when the attackers pretend installing a “Fake SUPEE-5344” patch for one of the old Shoplift Bug. Magento Experts recommended admin to install Magento patches and security updates only from the authentic websites as soon it releases to avoid any security threat.
The latest release by Magento is SUPEE 7405 to support PHP 5.3 and resolve other issues. While most of you have already in the process of updating the website with latest updates from Magento, few still worry how to start.
This article will address What a patch is, How to test your website against vulnerability, From where to download patch and How to install Magento Patch.
Lets begin with Patch introduction.
What is a Patch?
A Patch is basically an update of the software which addresses issues and latest release. Its caters fixing major bug or incorporating new functionalities in your old version of software. The main goal is to improve the overall performance of the store and ensures security to the website.
From Where You Can Get Latest Magento Updates?
We recommend to always download the patch from magentocommerce.com/download to escape any security issue.
Whenever Magento releases a patch, then they sent a notice to the Admin inbox. If it is related to the security, then the text font color will be “red” and marked as “Critical Update”.
Run Security Alert
To check if your website is patched by the fake path or possess any security threat, run the Bug Test from Magento.
Lets begin with Patch installation
Before Installation
Pre-Requisite
Prior of installation, you need to have the following:
-
Login credentials of Admin account.
-
Login credentials of your Magento Store server.
Here we have listed three ways of installing Magento Patch,
-
Installation with Command Directory.
-
Installation with PHP.
-
Installation by Copying files.
Method 1: Installation With Command Directory
Step 1: Download Magento Patch
-
Scroll down to find the Magento patches available in Download tab.
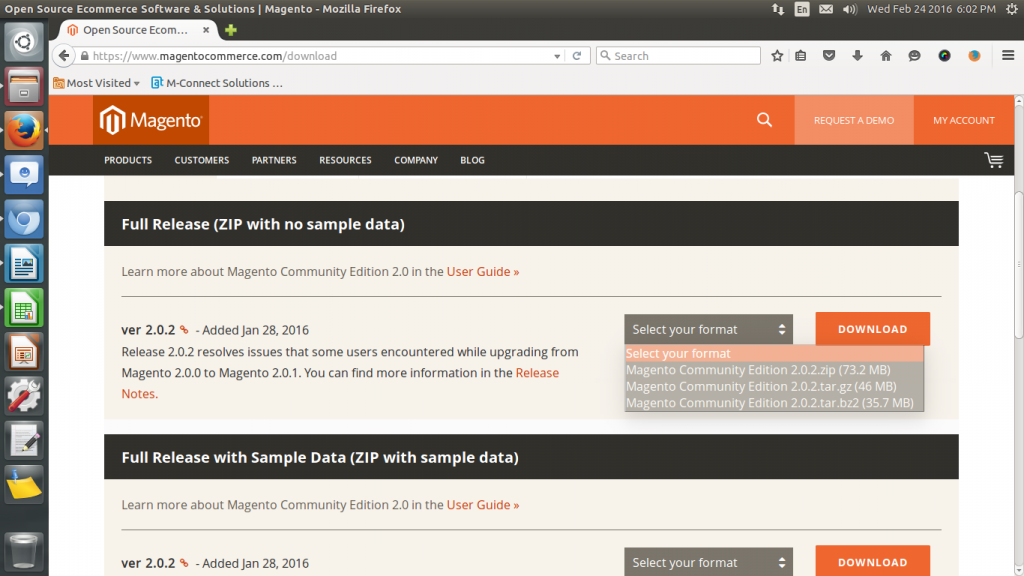
Now, when you download, you need to check your Magento store compatibility with the patch version. For this, follow below points.
3.From the Select your format dropdown, select your Magento Store version. You may find the version at the bottom panel of your admin account.

4.After selection, click on Download button to start downloading the file.
5. To download, login to Magento website.
6.System will prompt to save the file. Select a specific location to save the file.
Step 2: Set Access Permission
Before installing the patch, give access permission of your Magento root directory folder to proceed with installation.
-
Login to your server.
-
Depending on the server, your Magento installation folder path is also different.
-
Use Change Directory command to access the root directory path.
For Example: cd/yourrootdirectory
-
To do the installation, you should have permission to access the magento folder. For this, change the permission temporary that can be changed again in your live store later. Use below command:
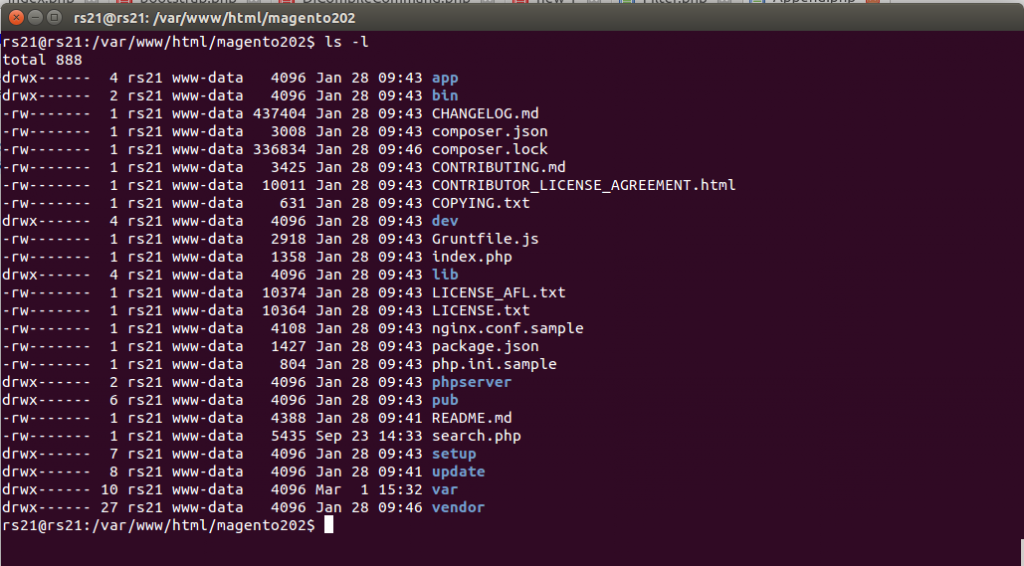
ls -l
Add sudo to it if your permission is denied.
sudo ls -l
-
In the screen below. have a look at the permission settings for your Magento folder. This will show you the username and group name.
For Example: If you look at the below screen, you can find the username as Apache and group name is root.

-
Change the permission of these files to be used in future. Use the following command:
find . -type d -exec chmod 700 {} \;
find . -type f -exec chmod 600 {} \;
ls -l
If you find the Magento installation folder is located at your shared virtual server, then use following command to start each command as a sudo super administrator.
sudo find . -type d -exec chmod 700 {} \;
sudo find . -type f -exec chmod 600 {} \;
sudo ls -l
Look at the first column to find the permission settings have been updated.
Step 3: Taking Backup of Magento Folder
It is recommended to take the backup of your live store data to avoid any data loss.
-
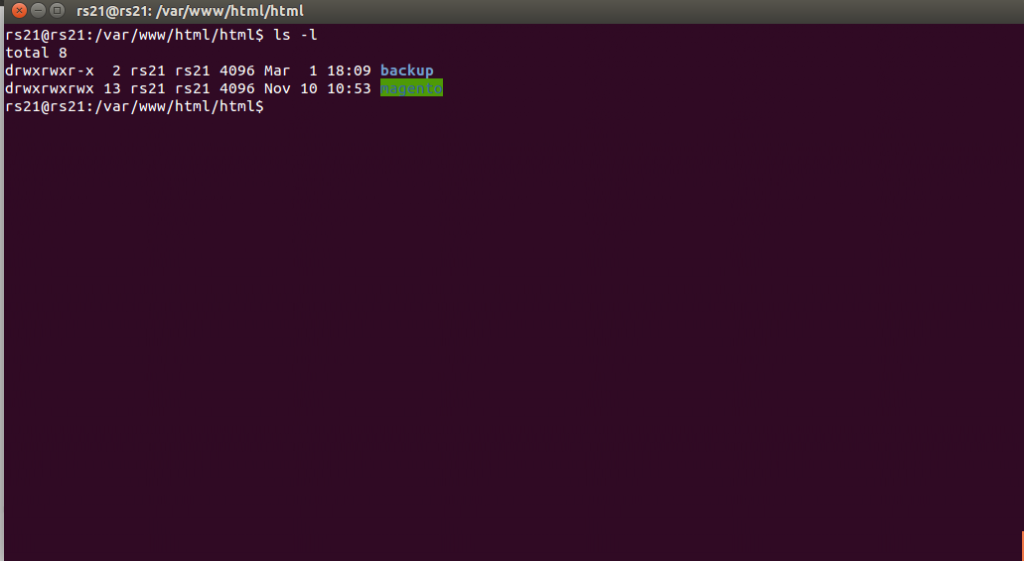
To take backup, first go to the first level of the directory tree by using following Change Directory command.
cd ..
-
Do directory listing to find where the Magento folder is located as shown below.
ls -l
-
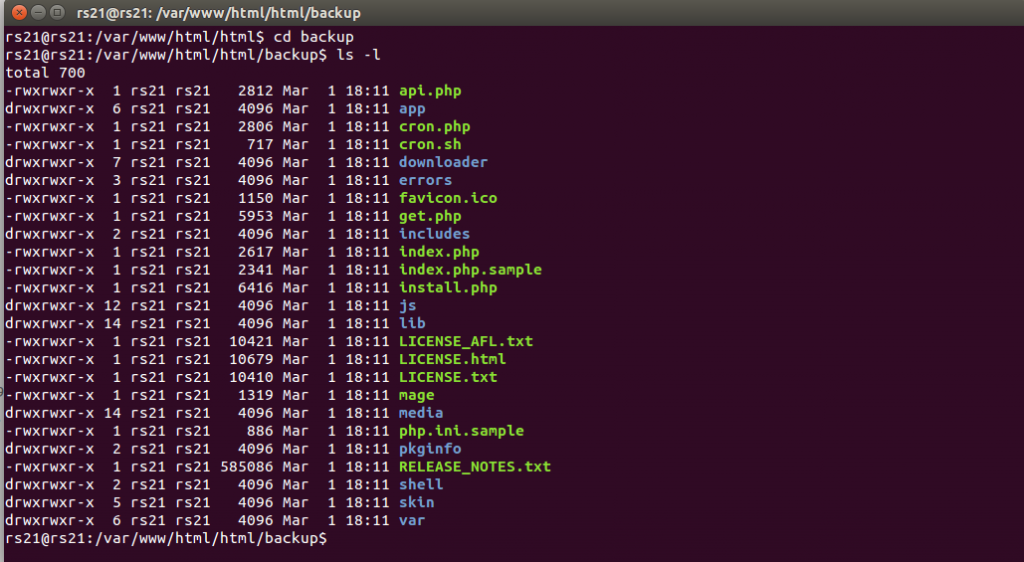
Create a Backup folder by following below command.
mkdir backup
ls -l
Tips
-
-
If you are unable to create the folder, then add sudo at the beginning of your command and do listing.
-
sudo mkdir backup sudo
ls -l
-
-
Make sure that your Backup folder have got same permission as of Magento folder. Use following command to do so. Use user name in the user field and group name in the group field.
-
chown -hR user:group backup .
ls -l
-
-
Always log in by using the correct user name. Check to see the logging user name by this command.
-
whoami
-
-
If you have not logged in as the authenticate user, then use this command.
-
su – username
-
-
Once you logged in successfully as the authenticate user, then you will be located to the bash folder. Now, you don‘t need to login as a super administrator access.
-
-
Now, go back to your Magento and Backup folder. Check your log in username and directory location where you are.
cd /var/www/html/stores/ce
ls -l
whoami
5.Start copying your Magento folder content to the Backup folder.
cp -r magento/* backup
6.Wait till the process is completed successfully after which system prompt the return. Once done, check your backup folder to make sure all files are copied successfully.
cd backup
ls -l
cd ..
7.Now, you are ready to work with Backup folder. Its recommended to restore the default permission of the Magento folder by following command.
ls -l
cd magento
find . -type d -exec chmod 500 {} \;
find . -type f -exec chmod 400 {} \;
find var/ -type f -exec chmod 600 {} \;
find media/ -type f -exec chmod 600 {} \;
find var/ -type d -exec chmod 700 {} \;
find media/ -type d -exec chmod 700 {} \;
ls -l
Step 4: Upload Magento Patch
-
Go back to your Magento and Backup folders and create a folder for Patch will all access permission by changing the permission to 777.
cd ..
ls -l
mkdir patch
chmod 777 patch
ls -l
2.Now you can find, you have three different folders, namely, Patch, Backup and Magento.

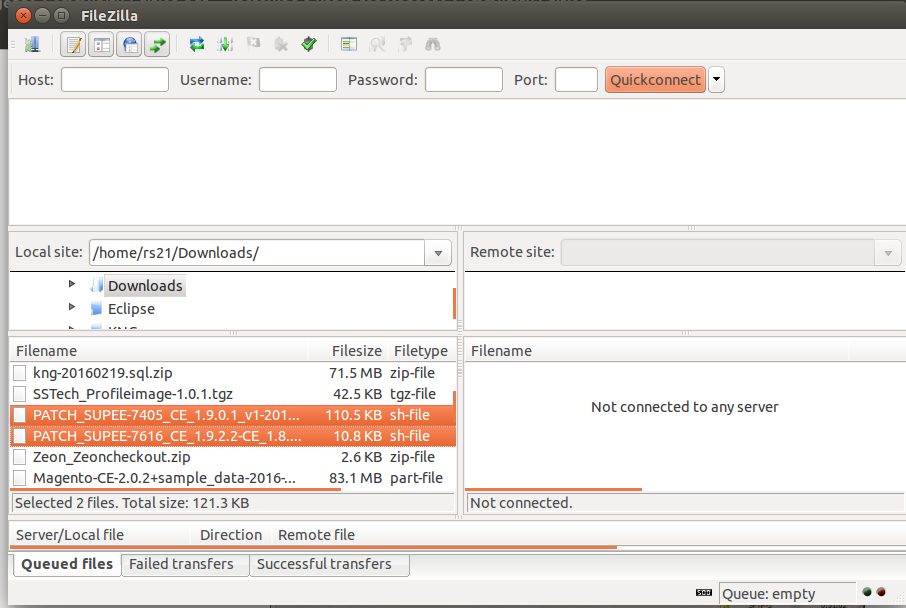
3. Now, from the left panel, select the patch files from the Download folder and move them to the Patch folder in the right panel.
4.To upload the Patch, use a tool to login to the server.
5.From the right panel, locate the Patch folder on the server.
Step 5: Install Patch to Backup
It is a good practice to first install patch to your Backup folder to ensure everything is running smoothly.
-
To do that, first locate the installation directory where Magento, Backup and Patch folders are present.
-
Now go to your Patch folder to copy the patch files up one level.
cd patch
ls -l
cp PATCH_SUPEE-1533_EE_1.13.x_v1-2015-02-10-08-18-32.sh ..
cp PATCH_SUPEE-5344_CE_1.8.0.0_v1-2015-02-10-08-10-38.sh ..
cd ..
ls -l
3.Delete the Patch folder.
rm -rf patch
ls -l
4.Now, copy these patch files to the backup folder and check that all files are copied successfully.
cp PATCH_SUPEE-1533_EE_1.13.x_v1-2015-02-10-08-18-32.sh backup
cp PATCH_SUPEE-5344_CE_1.8.0.0_v1-2015-02-10-08-10-38.sh backup
cd backup
ls -l
5.Install the Patch in the Backup folder.
sh PATCH_SUPEE-1533_EE_1.13.x_v1-2015-02-10-08-18-32.sh
sh PATCH_SUPEE-5344_CE_1.8.0.0_v1-2015-02-10-08-10-38.sh
On successful completion, following message will displayed.
Patch was applied/reverted successfully.
Note:
You may get an error, if you already have installed patch.
6.Now, on successful completion of patch installation in Backup folder, its time to go to the Magento folder of your live store and copy the patch file. Reset the file permission to access the folder.
cd ..
ls -l
cd magento
find . -type d -exec chmod 700 {} \;
find . -type f -exec chmod 600 {} \;
cd ..
cp PATCH_SUPEE-1533_EE_1.13.x_v1-2015-02-10-08-18-32.sh magento
cp PATCH_SUPEE-5344_CE_1.8.0.0_v1-2015-02-10-08-10-38.sh magento
cd magento
ls -l
Step 6: Install Patch in Live Store
-
Enter the following command to install the Patch from your Magento folder.
sh PATCH_SUPEE-1533_EE_1.13.x_v1-2015-02-10-08-18-32.sh
sh PATCH_SUPEE-5344_CE_1.8.0.0_v1-2015-02-10-08-10-38.sh
-
Remove Patch files from your Magento folder as shown below.
rm PATCH_SUPEE-1533_EE_1.13.x_v1-2015-02-10-08-18-32.sh
rm PATCH_SUPEE-5344_CE_1.8.0.0_v1-2015-02-10-08-10-38.sh
-
Restrict your Magento folder permission.
find . -type d -exec chmod 500 {} \;
find . -type f -exec chmod 400 {} \;
find var/ -type f -exec chmod 600 {} \;
find media/ -type f -exec chmod 600 {} \;
find var/ -type d -exec chmod 700 {} \;
find media/ -type d -exec chmod 700 {} \;
ls -l
Step 7: Remove Backup Folder
Remove the Backup file and Patch from the server.
cd ..
ls -l
rm -rf backup
rm PATCH_SUPEE-1533_EE_1.13.x_v1-2015-02-10-08-18-32.sh
rm PATCH_SUPEE-5344_CE_1.8.0.0_v1-2015-02-10-08-10-38.sh
ls -l
Step 8: Check to Ensure Authorized Access
This step is to ensure that your store have only the authorized users account.
-
Login to your Admin panel.
-
Go to System>>Users.
-
Check if any unauthorized user account is present. If so, then delete such accounts.
Step 9: Flush Magento Cache
Do flush your Magento cache after successful installation.
-
Go to System>>Cache Management.
-
Click on Flush Cache Storage button.
Step 10: Recompile your Store
-
For Compiled Store: Recompile your store to apply the patch.
-
Go to System>>Tools>>Compilation.
-
Click on Run Compilation Process button.
-
-
For Non-Compiled Store: No need to compile.
This will recompile your store.
Step 11: Time to Restart Your Server
- If your Server has a control panel, then restart your server from Home>>System Reboot>>Graceful Server RebootOr
- Restart from Control Panel Firstly, find the operating system version running on your server by entering the following command.cat /etc/issue
-
Next, restart the server
CentOS / Fedora / Redhat
apachectl -k graceful
Debian / Ubuntu
apache2ctl graceful
Note:
If you have more than one server, then do the patch installation on all servers.
Method 2) Installation With PHP
This is another method of installing the patch in your Magento store.
- We have already explained how to upload the patch files in your magento store.
- Create one file and name it as your Patch file.
- Now, copy the following code in that file.
<?php
print(“<PRE>”);
passthru(“/bin/bash PATCH_ABCDE-12345.sh”);
print(“</PRE>”);
echo “Done”;
?>
- In the above command, replace the PATCH_ABCDE-12345 with your patch file name.
- Now run your patch file in the browser. You will get the following message.
Note:
In case of any error, contact your hosting provider.
Method 3) Installation By Copying Files
-
In this step you need to copy the files from Patch folder in your Magento root directory.
-
This will replace all files in Magento with the Patch files.
Through this way, you can apply patch in your Store.
We are Magento Support Agency that can help you in any eCommerce development services. If you face any problem during installation, then let our Magento Support team do the installation for you.


Thanks for sharing the different ways to install and apply the patch on the store. I was only aware about the Installation with Command Directory. Now, I can try the other ways too.
I was facing some security issues with my Magento store, but I was not sure about specific bugs. When I contacted an agency dealing in security things for Magento stores, they analysed my store and told me about the specific bugs. And suggested me and also helped in applying some security patches released by Magento team itself.
But after this blog post, I can myself install the patches on my store, if any such security problem arises. Thanks for sharing this.